
 |
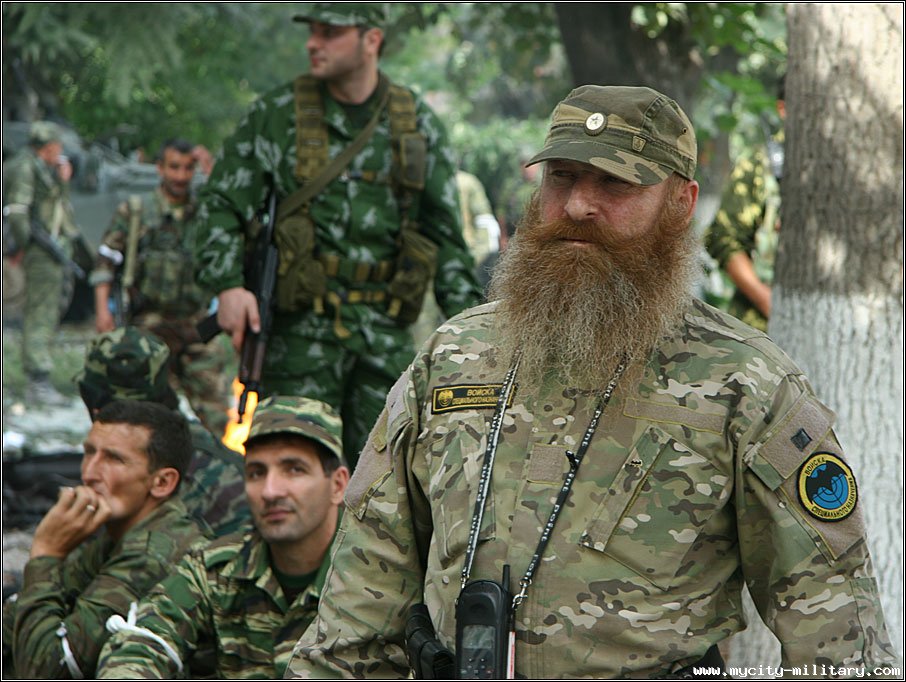
| Even this guy's got some Multicam! |
Representing this pattern in miniature presents several problems. First of all, the striking thing about this camo is probably the black and white squiggly lines. This has caused me to jump the gun and over represent this component in the past leading to a cartoony look which detracts from the rest of the paint job.
The second problem is that different pictures tend to give completely different impressions of what the camo should look like. I think that this is primarily the result of camera filters, but of course material aging and environment are important factors. For example, the first image below shows highly faded multicam while the second illustrates a cleaner look in which the camo is dominated by the green and white tones. The second photo is also obviously enhanced.
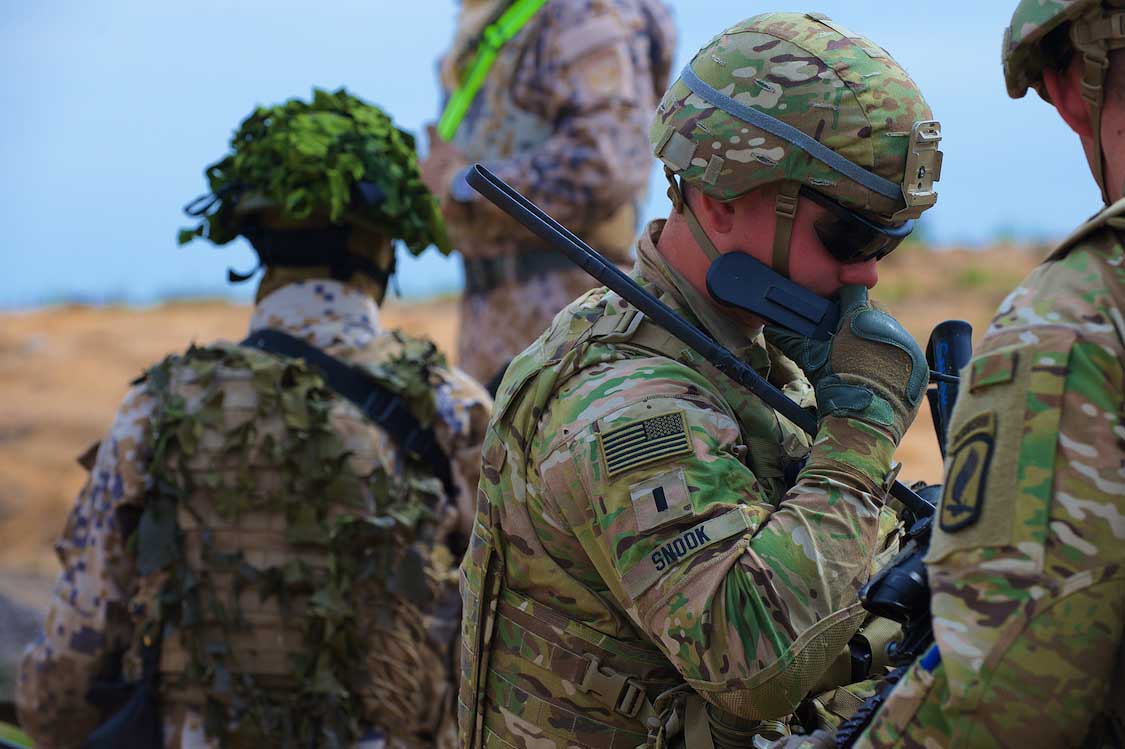
I decided to go for something in between these two extremes in which the base colors are well blended and faded, but the green and white dominate just a little.
This paint job is a 10-step process for me, but I think that some corners could be cut to save a little time while still giving an OK result.
The figure I used to illustrate this is a 15mm Australian from Eureka Miniatures. Here he is primed in Vallejo white primer. Unfortunately I cannot give exact color codes for the paints I use, as I tend to mix colors and use multiple manufacturers to get the exact right shade. I will post a color card at the end of this though for you to see the relative tones I used.

Next I added a thin coat of greenish tan.

I added green "splotches" after that was dry. It is important that this green, and the brown that follows, is thinned to the extent that it is almost a wash. This blends it with the base color just as in the real life version of Multicam.


After these layers were fully dry, I added the infamous white dots and dashes:

And their dark gray counterparts:

These were followed by a black wash. I made the wash by thinning Vallejo black paint and adding a touch of dish detergent to help it settle in the cracks.

Once the wash was dry, I drybrushed the fig with a khaki color and highlighted the most raised details with thinned Vallejo "bonewhite." The result of these two steps is below:

If you want heavily weathered Multicam, you can finish here with a pinwash and call it a day. I wanted to add a little more definition though, so I added a few more layers.
I continued by adding a few small, thin green patches:

Followed by another set of white dots and dashes:

And a black pin wash to bring out the fine raised details:

And here is the promised color card showing the relative tones:

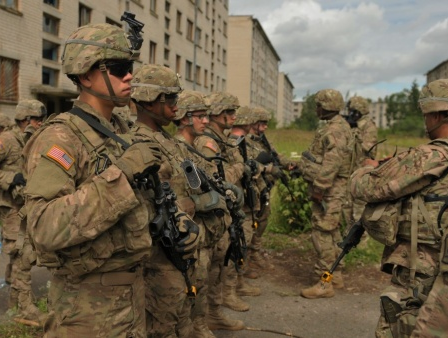
The nice thing about this process is that it is easily reproducible. This is a problem I had in the past in which each batch I painted looked a little different. Here is a US Army fireteam I recently painted using this process:

A post of the complete platoon will follow eventually.
Thanks for looking!
Cool, very nicely done!
ReplyDeleteMerci!
Delete